Replacing a Kitchen Switched Fused Spur
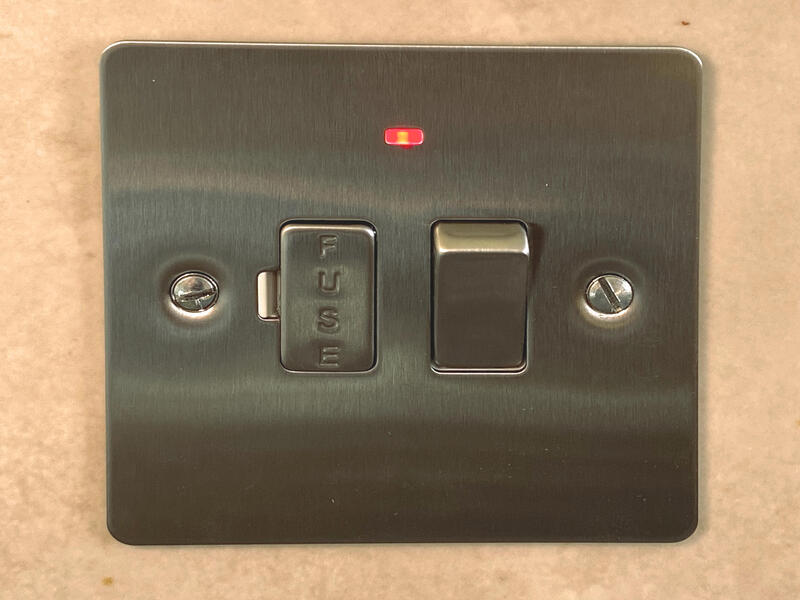
I while ago, as I was trying to do my washing, I discovered that the washing machine appeared to have died. However, further investigation showed that the problem was actually the fused spur (with LED indicator) had developed a problem. I could not move the switch, which is stuck in the on position. Pressing it did seem to make the indicator lamp flicker on and off, seemingly confirming that it wasn't the fuse. Given that, I have been forced to look at replacing the switch and these are my notes on the subject.
Locating the Replacement
The first task was to locate a replacement. Since I had my kitchen installed about 10 years ago, I wasn't immediately able to remember what I should be looking for exactly and where. However, I am the sort of person that hangs on to old receipts and so thought that I might be able to find something in those I had kept for the kitchen project.
After searching around, I found them and vaguely recalled that the various switches to the kitchen had come from Screwfix. With that, I then found the receipt that seemed to show what I was looking for. It even had a product number (35700). I did wonder after a decade whether there would still be such a thing, but I was relieved to discover that there was. A quick search showed that this appeared to be a LAP 13 amp switched fused spur with LED brushed stainless steel. Thank goodness for hanging on to those old receipts!
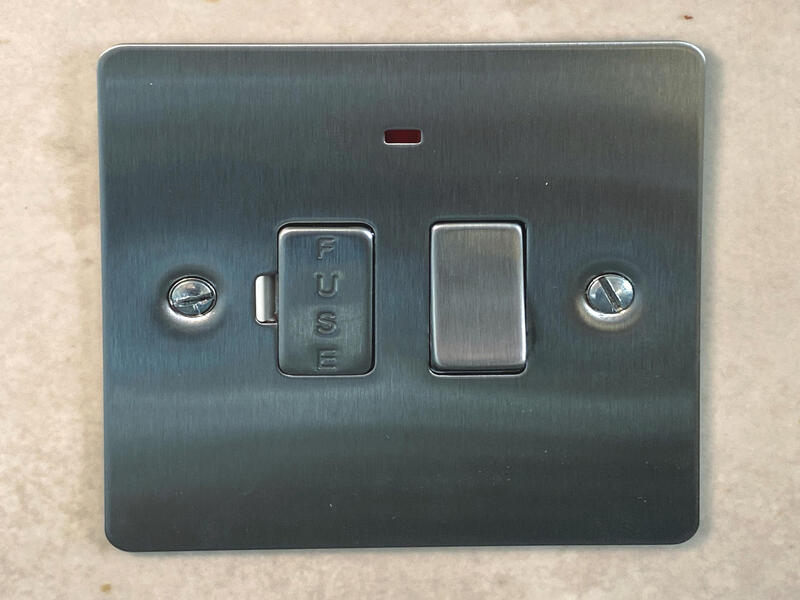
The New Switch
When the new switched to right, fortunately it was exactly as expected and appeared functionally identical to the existing one. I already know what the faceplate looks like, so what was interesting is how it looked from the back.
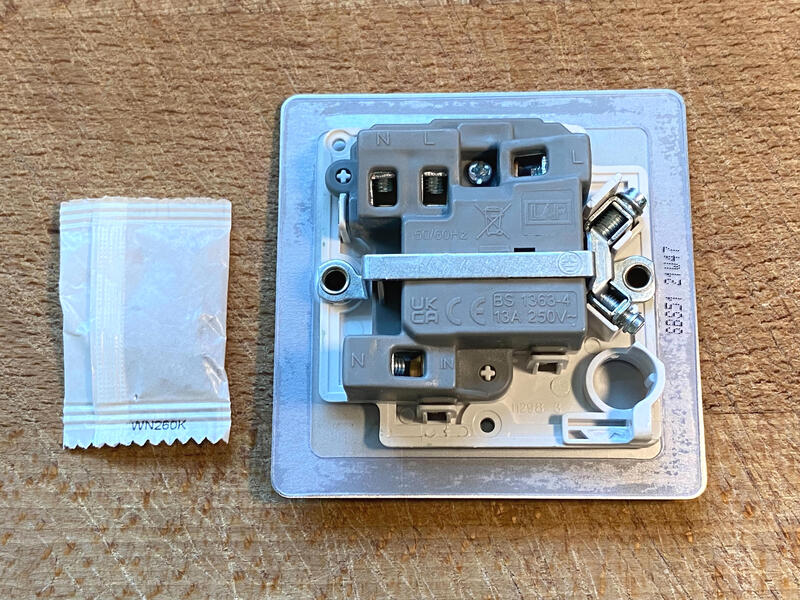
We can clearly see where the existing wires will need to be connected, although how difficult that would be was impossible to tell before removing the existing one.
Removing the Existing Switch
Before proceeding with the removal of the existing switched fused spur, the first task was to disable the appropriate circuit at the consumer unit. Fortunately, I have a setup that has the kitchen lights on a separate circuit, so I could still use those to help illuminate the work area if necessary.
I just had to remove the screws that held the existing Switch in place before pulling it away from the wall.
Note the existing screws are much longer than the ones that came with the switch, so it was clear I would need to retain them for later.
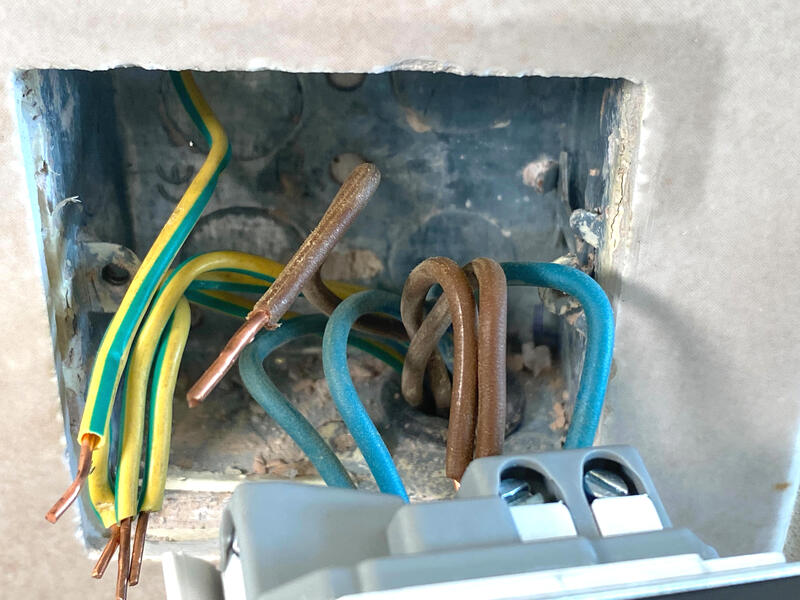
I also needed to make sure that I was careful to retain the positions of the various wires, because some are screwed together in the same terminal connector.
Fitting the New Switch
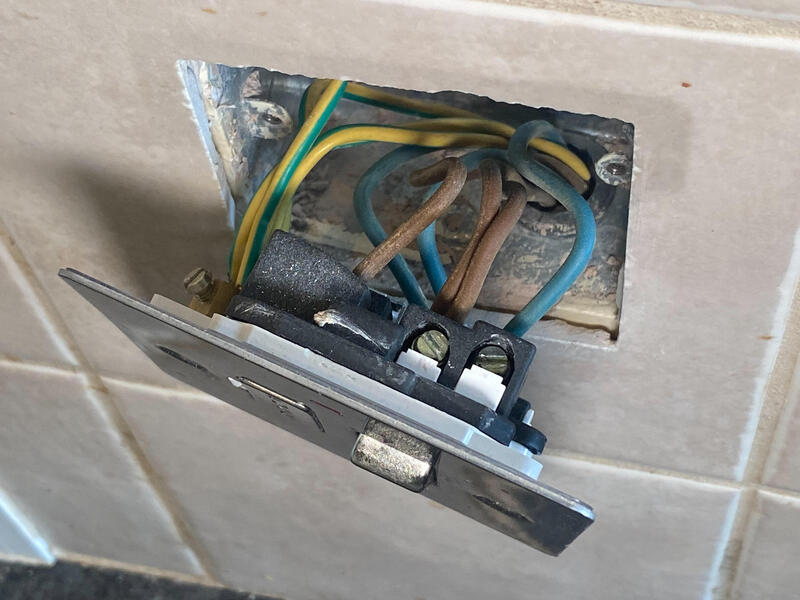
Have you remove the existing Switch, it wasn't too difficult to push the wires back into the same positions on the replacement. I just needed to make sure that the wires were securely in place.
The photo above shows some of the wires reattached. It also shows where most of the wires emerge from.
Once the new Switch had been wired up, I was able to push it back into position and use the existing screws to reattached to the wall.
I was then able to flip the switch on the consumer unit and allow power back to the kitchen circuit. Job done!